Pizza in Paris

Disclaimer: This is sort of a long one that gets a little off topic (very unusual for me, right?!). If you can make it through, you definitely deserve a pizza. For that reason I have created a TOC so you may skip ahead.

So anyway, I went to Paris the other day, because, you know, why not. While I was there I had the opportunity to talk shop with a friend of mine who is also a self-proclaimed amazing chef. While I don’t have firsthand evidence of his skills, I do take his word for it because he is tall and French and speaks in an authoritative manner. And then also of course we all know that the French can never be mistaken when it comes to food.

On this occasion we were talking about pizza, as you do, which was a little ironic because France is actually not known for excellence in this category … or perhaps it’s totally un-ironic because if you want to have good pizza in France you must obviously make it yourself. This is not dissimilar to my problem in Philadelphia when it comes to Mexican food. But that’s another rant story.

Anyway, my friend shared with me that he always makes his own pizza but he uses sauce from a jar. Nothing against jar sauce, and if you have a good one you like, please let me know – however, I am picky about sauce so I usually make it myself.

Inspired by this recent conversation, I decided it was time to share my pizza recipe, from dough to sauce to cheese and everything in between. If you want proof points for why it’s good, I can offer up the testimonial from my son “I like Mom’s pizza better than order-out pizza.” In my house there is no higher praise than that. So here I am doing my part to bring quality pizza to people all over the world.

Before we get started, IMPORTANT NOTE: The key to keeping homemade pizza a reasonably practical dinner option is to spend the time to make the dough and sauce in a big batch, and then freeze it for assembly on demand. This recipe assumes that basic strategy. ALSO: Once you have made all the things, skip to the end for how to combine them into a pizza.

The Dough (pronounced “doe,” rhymes with “so” – for my international readers)

Ingredients

I have some bad news for you, this is going to take a couple days if you want it to be really, really perfect. If you don’t mind it being only mostly perfect, it doesn’t take long at all. In actuality, the time that you are actively working on it is about 20 minutes, but there is a lot of resting the dough and punching it down and resting it again, etc etc etc. So, this is my preferred method but feel free to use THE SHORTCUT (see below).

  • 4 cups flour
  • 2 ¼ tsp or ¼ oz yeast
  • 1 – 1½ c warm water (100-110 degrees F)
  • Small handful of sea salt
  • Olive oil for drizzling
  • Corn flour, which will be used later when you are actually making the pizza, so don’t worry about it now, just make sure you have it

Instructions

  1. Dissolve the yeast in the warm water
  2. Mix the flour and salt together
  3. Add the water/yeast combo into the flour, stirring to combine
  4. Adjust the water/flour ration if necessary – more water if the dough is too dry, more flour if the dough is too sticky
  5. Transfer the dough to a floured surface and knead for about 10 minutes, until smooth
  6. Transfer the dough to a large oiled bowl, big enough to let it expand to twice its size. Cover it with a damp dish towel, paper towel or plastic cling wrap
  7. Let the dough rest for a couple hours until it has doubled in size
  8. Punch it down and return to oiled bowl, covered.
  9. Now, if you want to do it the long way, what I usually do at this point is this:
    a. Refrigerate the dough overnight
    b. Punch it down and cover it again
    c. Repeat this process so that the dough has risen, been deflated, and re-risen a total of three times
    d. What is happening during this time period? Some chemical process is taking place with the yeast and the gluten and it leads to a chewier crust. This is how I like it. Others might prefer it another way. No judgment on my part, however if you ever feel your pizza crust isn’t chewy enough, you should try it this way.
    e. Once the dough has risen and re-risen enough times, divide it into three, drop it into three storage containers (I use Ziploc bags and I usually label them with the date because I’m meticulous like that).
  10. THE SHORT CUT: If you want to take the short cut, all you have to do after step 7 is punch the dough, divide it into 3 equal portions, place in 3 oiled bowls lightly covered with a damp towel or plastic wrap, let them rest one more hour and then place in separate containers to freeze. Now you have your dough, so let’s move on. Quoi d’autre? Que mas? Cos’altro? What else?

The Sauce

This is easy so I will try not to waste too much time entertaining myself with unnecessary exposition.

Ingredients

  • Olive oil, about 3 tbsp
  • Garlic, 4 large cloves, peeled and smashed (I just press them with the side of a knife until they burst, which is pretty fun)
  • One big white onion, halved and roughly sliced
  • One 28 oz can of plum tomatoes OR two 14 oz cans of whatever kind of tomatoes you have OR you could even use an equivalent combination of fresh tomatoes and canned tomatoes OR you could completely use fresh tomatoes, but if you do that, I would roast them in the broiler for a minute and pull off the skins before cooking them
  • Italian seasoning to taste (oregano, thyme, basil) – I used dried seasoning here because I don’t like how fresh herbs get creepy when they’re cooked and frozen
  • 1-2 tbsp of tomato paste, to taste
  • Sea salt and freshly cracked black pepper to taste (I usually throw in a kid-sized handful of each)

You will notice certain recurring themes if you happen to have read my Tomato Soup or Pasta Arrabiata recipe. This is because Italian tomato-based recipes all boil down to these 4 basic things – garlic, onion, tomatoes, seasoning. Proportions and cooking methods are the only variance.
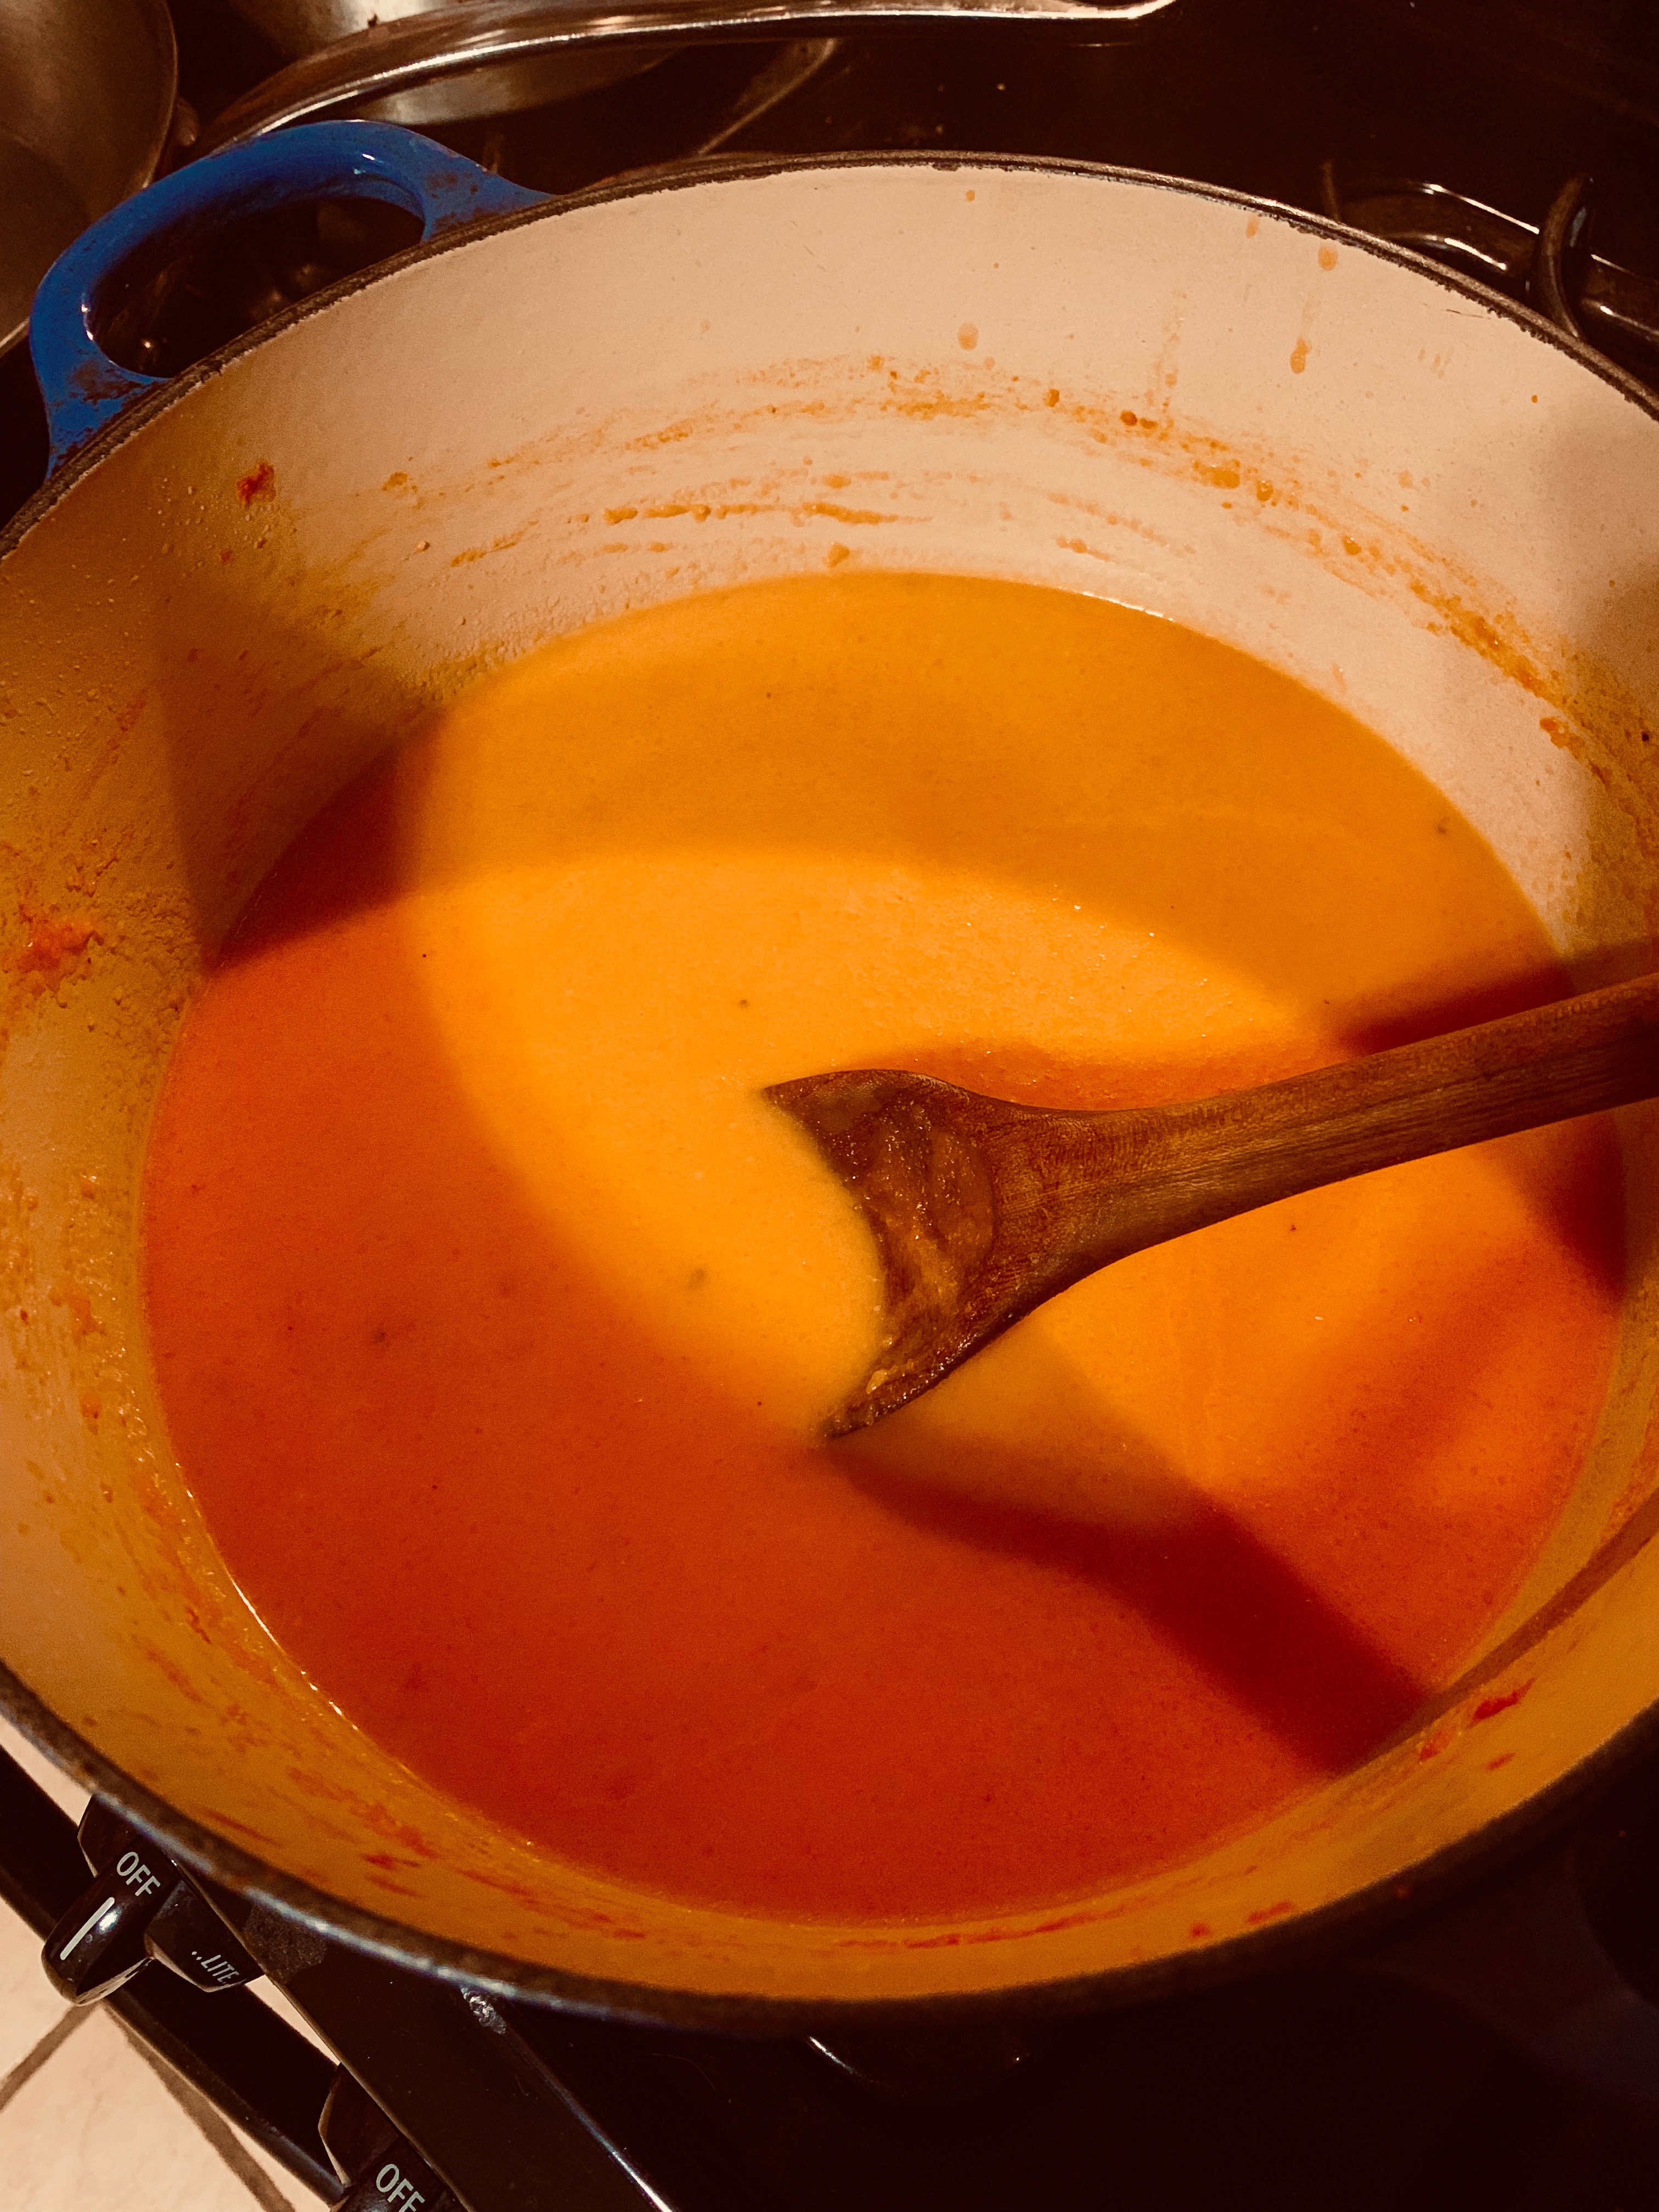
Instructions

  1. In a large saucepan or stockpot, heat the olive oil
  2. Throw in the garlic and onion and saute for about 5-10 minutes, until everything is soft, fragrant and the onion is a little gold
  3. Remove the mixture and transfer to a food processor (CuisinArt or what have you)
  4. Add the tomatoes and tomato paste to the food processor and blend until smooth
  5. Transfer the whole mix back to the saucepan or pot
  6. Add seasonings to taste and cook on medium until the sauce is thickened to your desired consistency – this usually takes me about 10 minutes
  7. Taste and adjust seasonings if necessary
  8. Allow to cool and divide into three storage containers to freeze

The Cheese (obviously not vegan but you can use vegan cheese)

The cheese you don’t have to deal with ahead of time. Shred it right before you start the pizza.

This part is also easy, but it’s the most difficult to put into words, because it’s not so much a recipe as a philosophy. Hear me out for a minute:

Here’s a little known fact: the perfect pizza cheese is NOT mozzarella alone. Mozzarella is just one component of the perfect pizza cheese because there should always be more than one – there should be at least two and possibly several, depending on what you like. No one can tell you what your favorite pizza cheese blend will be, it’s something you’re going to have to figure out on your own. But whatever your taste, you must bear in mind these principles:

You need at least one melting cheese for a base (this would typically be mozzarella)
You need at least one salty cheese (Asiago, Parmesan, Pecorino, Romano, etc)
You may want to add others for character and complexity (cheddar, gouda, goat, feta, etc)

You will have to experiment. I usually use whatever I have on hand, which nearly always includes:

  • Mozzarella (should be 50% of the total mix)
  • Monterrey Jack
  • Parmesan
  • Cheddar

I shred about 3 cups per pizza. If I have feta, I may sprinkle it across the top after I’ve spread cheese over the whole pizza.

Putting the Pizza Together

  1. Take one of the bags of dough out of the freezer and let it thaw on the counter for an hour or so. It won’t take long. If you’re in a rush, you can run warm water over it (keep it sealed in the bag).
  2. Preheat your oven to 500 degrees. If you have a pizza stone, place it in the oven before pre-heating so it doesn’t crack with a temperature shock.
  3. Take one of the sauce containers out and either microwave it or thaw it on the stovetop.
  4. Shred the cheese.
  5. Lay out a piece of parchment paper on a large, smooth surface,
  6. Spread about a half cup of flour on the parchment and keep some more nearby in case you need it.
  7. Rub some flour on your hands and over a rolling pin and get ready to roll out the dough.
  8. With the floured rolling pin, roll the dough out to a thin circle – not too thin or the pizza will be soggy and fall apart. I usually roll it to about ¼ inch thickness – the pizza diameter will be about 9-11 inches.
  9. THIS IS VERY IMPORTANT: When the pizza is rolled, lift up the dough and spread a handful of corn flour underneath it. This will prevent it from sticking to the parchment
  10. Spread the sauce evenly over the pizza to about 1 inch from the edge of the dough; I use a big flat spoon for this
  11. Sprinkle the cheese evenly over the pizza
  12. Layer on whatever ingredients you want – I usually include:
    • Prosciutto (obvs not vegan or vegetarian)
    • Fresh basil
    • Black olives
    • If I don’t have fresh basil and prosciutto, I will usually throw a handful of sliced jalapenos, but I don’t do that with basil and prosciutto because that would not be a very good flavor profile
    • Honestly toppings are really up to you and what you want on your pizza
  13. Now transfer the whole thing onto the pizza stone – parchment paper and all. I usually slide the pizza onto a pizza paddle and then slide it over to the stone (or baking sheet or oven rack – however you roll).
  14. Cook for 5 – 10 minutes depending on desired crust texture – I like mine a light golden brown and a little chewy.

So, there you have it. Thanks for sticking with me through all that, and I hope you enjoy!

Not Your Mom’s Creamy Tomato Soup (VGN/VGT/OMN)

not-your-moms

Yeah I need a food photographer for sure.

Ever notice how so many recipes out there on the internets make the claim “just like Mom’s” or “just like Grandma’s”? Anyone else have the reaction, “Wow, actually that’s the last thing I want in a recipe”? All due respect to the ladies in question, in my household tomato soup consisted of Campbell’s. Which is decidedly NOT what I want from tomato soup.

Further compounding my ire over this trope is that it was actually my father who did most of the cooking in my family. So stick it, ya sexists! But his domain was the cuisine of the Olde Country, San Diego (which is next to America). In case you didn’t know, that basically translates to Fresh Mex all the way, which does not include tomato soup. Besides that, trust me, you don’t even want to know what passes for Italian food to Southern Californians.

Anyway, you can see how my best hope for a decent tomato soup is my own damn self. While my husband has Italian ancestry, he has little to contribute on this subject apart from the ability to tell me whether I’ve nailed it or not. (By the by, the latter points obviously make more sense if you know that tomato soup is Italian.) Moving on …, I love this because it’s easy and versatile, and you can throw it together with a few ingredients one normally has on hand (and if one doesn’t, one should).

Ingredients

– Olive oil
– One white onion, sliced
– 3 large cloves garlic, peeled and smashed
– 28 oz canned tomatoes (whole, diced, whatever) OR equivalent combo of fresh tomatoes and canned tomatoes OR equivalent amount of fresh tomatoes
– 2 c. Veg stock or water
– Heavy cream* to taste (Optional. Obviously not vegan. I use about 1/3 cup.)
– Salt and pepper to taste
– Chopped basil for garnish (optional)

Directions

In a large stockpot or Dutch oven, heat the olive oil on medium, then throw in the onions and garlic. Sauté, stirring regularly, until onions are translucent and golden.

Transfer onions and garlic to food processor and add tomatoes. Purée until smooth.

Return mixture to pot and heat on medium, stirring regularly until slightly reduced and thickened. Add stock and bring to a boil, then reduce to a simmer until reduced to desired consistency.

Salt and pepper to taste (probably around 1-2 teaspoons salt should do it). Stir in cream* (if desired) until blended.

Serve with grilled cheese sandwiches or crusty bread or whatever you want.

*Vegans take note: I have said before and I will say again that for some recipes, it is not worth trying to use dairy substitutes. None of the plant-based milks of the world would add anything to this soup except for broken dreams. I’d suggest enjoying it on its own in all its nightshade glory.

Lettuce Soup (Vegan or VGT)

TooManyVeggiesOh, it’s been a long time indeed. So long that you surely find yourself with a refrigerator full of greens and no humanly possible way to consume them before they plummet southward. That is why I have invented the Kitchen Cleanup Soup, aka Lettuce Soup, aka Random Greens Soup, and plenty of other things we could call it. Be honest, how many times have you found yourself with way too many seemingly unrelated greens on your hands and no good plan for how to  quickly and easily use them all together? Broccoli, asparagus, kale, kohlrabi, romaine – how can we unite them with one minimal, all encompassing effort? This soup is the perfect answer to that dilemma.


This is a lovely, light summer soup, a tasty and comforting autumn soup, a crisp and energizing spring soup, and basically an all-around all purpose soup that you can make in a huge batch and then freeze for a rainy day. It’s super easy, but it does take some time, though it is mostly passive time, letting the soup simmer away covered on the stovetop. Also, I hope you have a gigantic pot. Otherwise, queue the “we’re going to need a bigger boat” jokes.

So many things can go in this soup, but here’s what I happened to toss together today.

Ingredients

  • 2 carrots, chopped
  • 2 celery stalks, chopped
  • 1 head broccoli, chopped
  • 1 head romaine lettuce, chopped
  • ½ lb assorted leafy greens, including kohlrabi, kale, chard, arugula (random stuff we picked at the u-pick farm without a specific plan – never a good idea, btw)
  • 1 large russet potato, chopped
  • 1lb asparagus, cut in 1inch pieces (tips reserved)
  • 4-6 cups soup stock (how much you need depends on your volume of veggies – should just cover the veggies in the pot but not so much that they’re drowned)
  • Cream to taste – either vegan sour cream or heavy cream of your choice
  • Salt to taste
  • Black pepper to taste
  • White pepper to taste
  • Reserved steamed asparagus tips (as garnish)
  • Parsley as garnish
  • 2 tbsp butter or olive oil for cooking

The easiest way to think of preparation is to break it down in three key steps:

    1. Creating the base. In a large dutch oven on medium heat, heat the oil or butter. Start by sauteeing the mirepoix (carrots, celery, onion, optional garlic if you swing that way). When everything is softened and it smells awesome, you’re ready to move to step two.
    2. Making the soup. Add the soup stock and all the other vegetables and seasonings, except for garnishing vegetables and cream (eg, asparagus tips, parsley, cream – those go in at step 3). Bring everything to a boil, then reduce to simmer, stirring often, for 20-40 minutes (basically until you’re firmest vegetables are tender – if you’re including potatoes, they will take the longest).
    3. Finishing touches. This is where you will adjust the seasonings and stir in the cream. When the soup is done, ladle into bowls with a dollop of cream, parsley, and a handful of steamed asparagus as garnish. I also like to serve it with a crusty baguette and/or a side of rice.

Enjoy!


Blueberry Cornmeal Pancakes (Vegan)

'Bout to get drowned in syrup ...

‘Bout to get drowned in syrup …

If you’re wondering why the streak of breakfast foods, it’s mostly because recent life changes have conspired not only to make me too tired to cook anything but breakfast, but also to crave carborific breakfast treats that I normally would never eat because I would be too full after scarfing my now forbidden runny eggs. (Sorry, vegans. They were humanely farmed, at least.) That being said, I’ve also been experiencing some personal recidivism on the dietary front in general, and finding myself increasingly put off by the concept of animal products – again. Are we re-invegginating ourselves? I don’t know, maybe. A recent bout with having to feed my geriatric dog baby food due to veterinary issues brought me face to face with the horror of pureed chicken, which got me reflecting on the benefits of raising baby HashTag* on a vegetarian diet. And then there are some other things to consider, but that’s a long story for another day and I don’t want to stand in the way of you and these awesome pancakes.

Please note that you can swap out the coconut milk for any other kind of milk – rice, almond, soy, dairy, whatever. Also, you can pretty much use any kind of oil you want – I used walnut because I was trying to use it up before it expires, but you could use coconut oil, vegetable oil, peanut oil (though the latter might add some peanutty flavor – but that could awesome too, so go for it!).

You can also use regular white flour instead of wheat flour – whatever you have handy.

Blueberry Cornmeal Pancakes

  • 1 1/2 c. coconut milk
  • 1 tbsp walnut oil
  • 1/2 tsp vanilla
  • 1 tbsp apple cider vinegar or lemon juice
  • 1 c. wheat flour
  • 1/2 c. cornmeal
  • 1 tsp baking powder
  • 1/2 tsp baking soda
  • 1/4 tsp salt
  • 2 tbsp sugar
  • 1  c. fresh blueberries

Preheat your oven to 200 degrees and have a baking sheet handy so you can keep the completed pancakes warm as you cook the remaining batter.

Mix the dry ingredients, then stir in the wet ingredients, then stir in the blueberries. Let the batter rest for a few minutes.

Heat a tiny bit of oil in a medium size non-stick skillet on medium heat. When everything is hot, pour 1/4 c. of batter onto the skillet and cook until the edges firm up and the batter begins to bubble a bit.

These pancakes do not bubble as much as your typical pancake, so keep that in mind and check them with a pancake turner for firmness. When they are cooked on bottom, flip and cook another minute or two on the other side. Transfer to baking sheet to keep warm. Serve with maple syrup, berries or jam.

*Not his real name.

Make your own soup stock (Vegan)

So many recipes call for soup stock and the store-bought kind is boring and sodium-tastic. Make your own! It’s easy and it will make all of your recipes vastly more delicious. The trick is just to try new things, remember what works, write it down, and pair it wisely with the other ingredients in the dish you are cooking. More on that in a moment. First, how to make a stock:

  • Put a lot of water in a large pot
  • Bring the water to a boil
  • Throw in a lot of vegetables, scraps of vegetables, and/or their parts. For instance, corn cobs & onion skins are great in stocks, in case you didn’t know. So you don’t need to do a lot of cutting or peeling or prepping. Just chop things roughly, enough so that they fit in the pot and have exposed parts through which to leak their juices
  • Simmer everything for about an hour or so
  • Add salt and pepper while simmering, to taste

When the stock is done, allow to cool and then pour through a strainer to separate the vegetable parts from the stock. This will probably require doing it in batches. Discard the vegetables and refrigerate or freeze the stock until it’s ready for use.

What kind of vegetables can go in a stock? Pretty much anything you want, though some veggies are more reliable than others. Some general guidelines:

#1 – Follow the rules of compost: No citrus. No fats. Nothing diseased or spoiled.

Whenever possible, use onion, celery, carrots, thyme and garlic. As much or as little of any of these, but some combination thereof. For the garlic, just smash the clove, no need to peel or press it. I take a blunt object and crack it a couple of times. I usually throw in 4 large cloves per 5 qt stockpot.

Other strong contributors to stock excellence include: potatoes (any variety), brussel sprouts, spinach, lettuce, cabbage, tomatoes, beets, parsley, corn, parsnips, mushrooms, zucchini, and … ??? Totally up to you and what you’re willing to experiment with.

Now. As for the pairing of stock with recipe. Basically I just taste it and imagine what it would complement. It’s not hard. It may seem weird, and some of you who are sensory-challenged may be fearful, but trust me. You really can tell by the taste of a stock what its purpose in life is. And most of the time, stock is so mild, all it can do is enhance, not detract. Just be mindful of the ingredients you’re dealing with, and I am confident you’ll be happy with your results.